EP #106: Best Practices for Placing & Finishing Concrete Floors
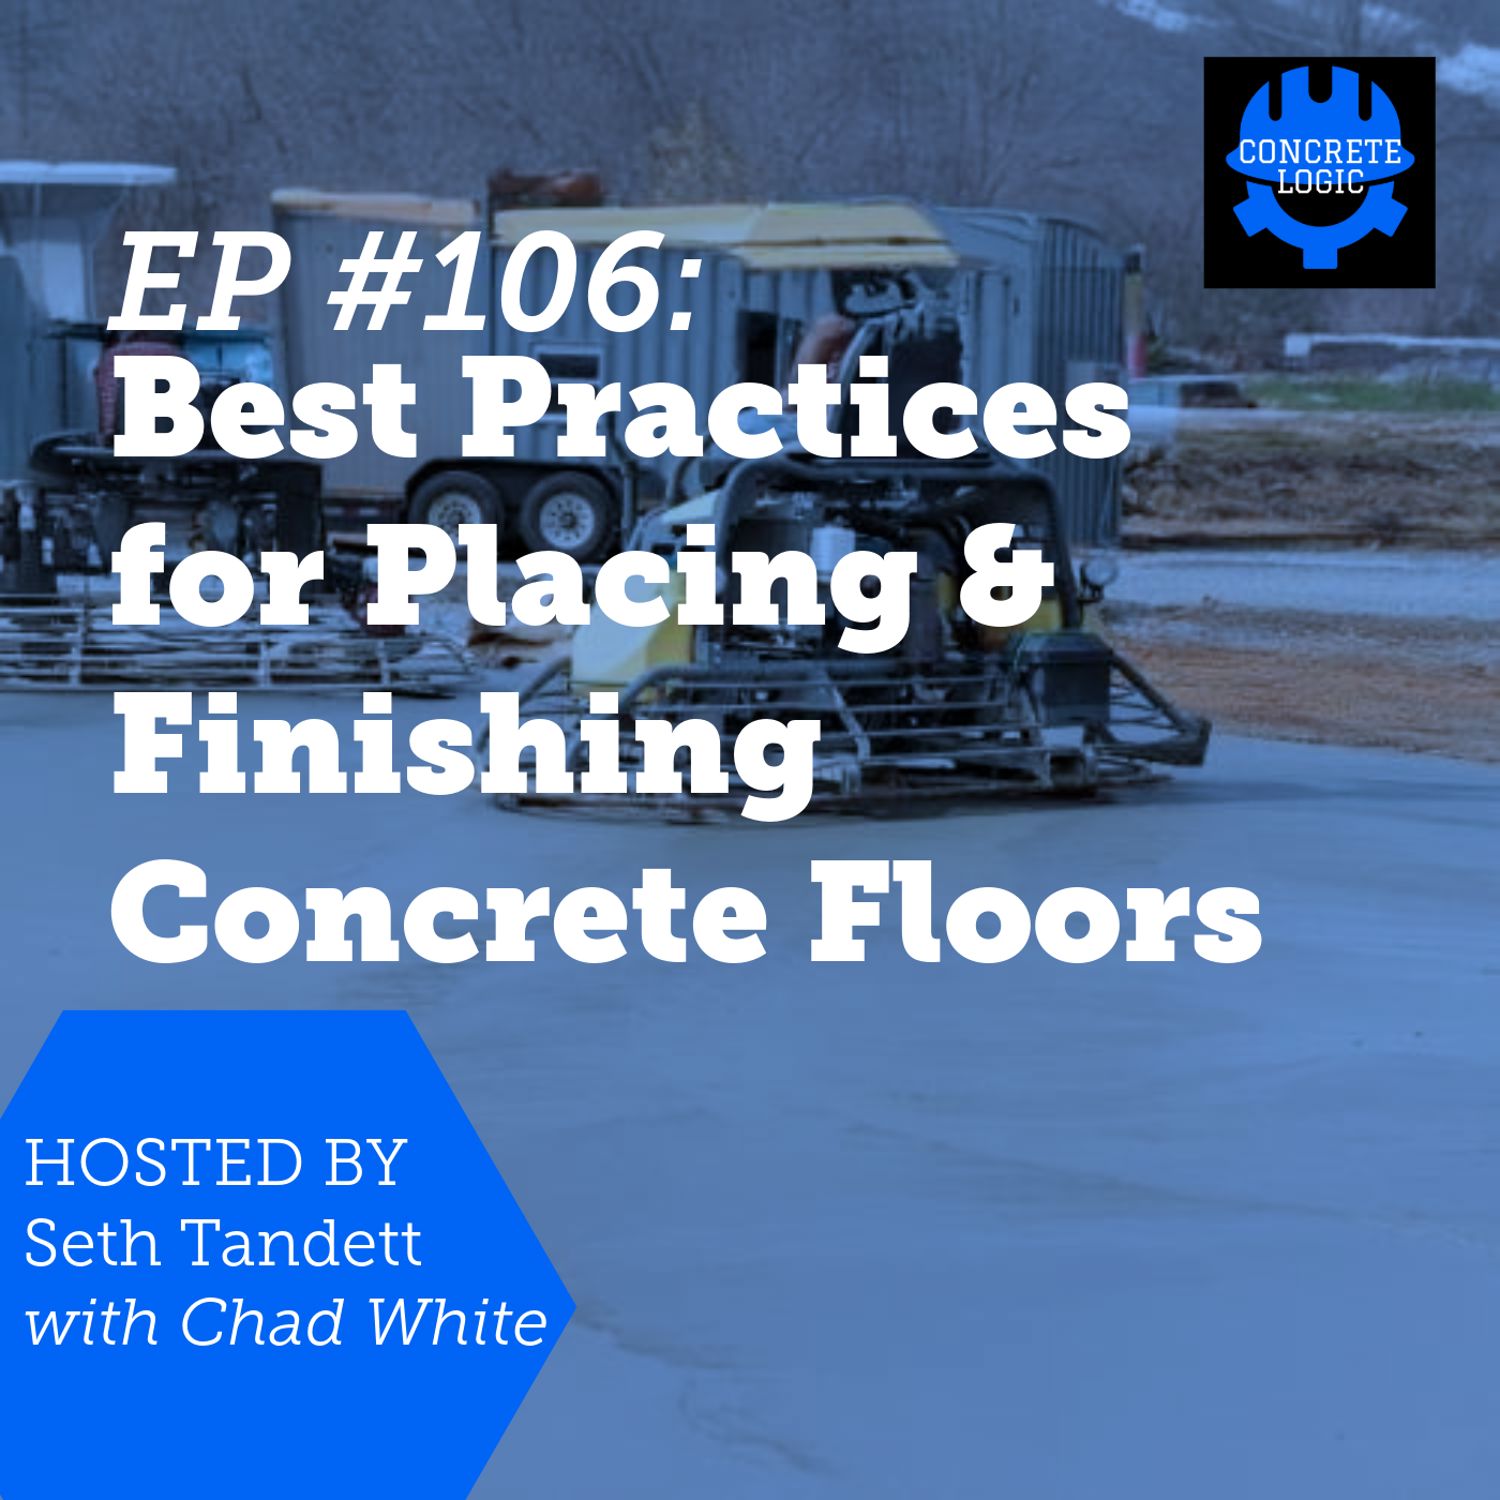
In this episode of the Concrete Logic Podcast, Seth and Chad White discuss best practices for placing and finishing concrete floors. Chad shares insights on the importance of a solid base, the use of vapor retarders, and the critical role of doweling systems for load transfer. They delve into concrete placement techniques, mix design, and various finishing methods to achieve high-quality surfaces. The conversation also covers curing practices, common issues like blisters and delamination, and the significance of bump cutting for achieving flatness. Chad emphasizes the need for attention to detail and proactive planning in concrete work.
Takeaways
• A solid base is crucial for quality concrete floors.
• Vapor retarders help mitigate moisture issues.
• Doweling systems are essential for load transfer across joints.
• Managing slump consistency can improve overall results.
• Proper strike-off techniques lead to flatter floors.
• Curing methods significantly affect slab quality.
• Evaporation retarders are necessary in hot weather conditions.
• Attention to detail is vital in concrete work.
• Plan your work and be prepared for changes.
• Concrete is a perishable commodity that requires careful handling.
Chapters
00:00 Best Practices for Quality Concrete Floors
06:59 Understanding Doweling Systems
10:00 Concrete Placement and Mix Design
15:03 Finishing Techniques for Concrete Slabs
19:56 Curing and Protecting Concrete Slabs
25:56 Common Issues: Blisters, Delamination, and Rock Shadowing
33:03 Bump Cutting and Surface Scratching
****
Did you learn something from this episode? Would you like to support the concrete industry's favorite podcast?
If so, donate at https://www.concretelogicpodcast.com/support/ .
When YOU donate to the show, you will be listed as a producer of the next episode that is released!
Elevate your expertise in concrete construction by joining the Concrete Logic Academy! You can try it for one week for free, and you can cancel at any time.
Learn more at https://www.concretelogicacademy.com
***
Episode References
Guest: Chad White | SSI | cwhite@ssiteam.com
Guest Website: https://www.ssiteam.com/
Producers: Jodi Tandett
Do you want your name or company listed on the next episode?
Find out how: https://www.concretelogicpodcast.com/support/
Music: Mike Dunton | https://www.mikeduntonmusic.com | mikeduntonmusic@gmail.com | Instagram @Mike_Dunton
Host: Seth Tandett, seth@concretelogicpodcast.com
Host LinkedIn: https://www.linkedin.com/in/seth-tandett/
Website: https://www.concretelogicpodcast.com/
LinkedIn: https://www.linkedin.com/company/concrete-logic-podcast
JOIN THE COMMUNITY DEDICATED TO CONCRETE!
CONCRETE LOGIC ACADEMY: https://www.concretelogicacademy.com/
00:00 - Best Practices for Quality Concrete Floors
06:59 - Understanding Doweling Systems
10:00 - Concrete Placement and Mix Design
15:03 - Finishing Techniques for Concrete Slabs
19:56 - Curing and Protecting Concrete Slabs
25:56 - Common Issues: Blisters, Delamination, and Rock Shadowing
33:03 - Bump Cutting and Surface Scratching **** Did you learn something from this episode? Would you…
Seth (00:01.47)
Welcome to another episode of the concrete logic podcast. And today I have Chad white with SSI and we're going to talk about, place and finish best practices. before we get started, just want to remind everyone how the podcast, works. if you hear something today or any of the a hundred plus episodes that we put out there and you think someone would, would find it.
of value, want you to share the podcast with a colleague or a coworker. The second thing you can do for us is if you go to ConcreteLogicPodcast.com, there's a couple ways to reach out to me. There's a contact link at the top. You click on that and that's like sending me an email. Or if you look at the bottom right hand corner of the homepage, there's a little microphone. You click on that and that's like leaving me a voicemail.
And what we're looking for there are topic or guest suggestions, what you want to hear on the podcast. So please do that as well. And then the last way is if you get some value out of the podcast and you think it's a worth some dollar amount, what you can do is go back to that homepage, concrete logic podcast.com. There's a donate button at the top right hand corner. Click on that and you can give any amount and any amount is much appreciated.
And when you do donate, the next new episode that is released, you'll be listed as a producer. So that's what you see. If you go to the, any of the episodes and you scroll down through the show notes, you'll see producers listed. Those are people that have donated to the show. So that's how that works. With that, Chad.
Chad's, he's the, guy that's been, you've been in concrete industry for a little bit. and he, goes around and shares back, I guess, best practices for, place and finish, which I was sharing with Chad before hit record is a very weak spot in my, in my, repertoire as far as, my background, but, Chad, could you
Chad White (02:02.371)
Yes.
Seth (02:24.306)
I guess let's get started with what are the best practices for delivering quality floors.
Chad White (02:31.971)
Sure, sure. Like anything else, it starts with the base. Most of the issues you'll see with a concrete slab that goes wrong, a lot of them will trace right back to the base. If the base is not firm and solid and supporting the slab, you're going to have issues. You have the potential for movement. So you've got to have a good firm base that's trimmable.
that when you are working on it, backing trucks in or moving laser screeds around, you do not want more than a half inch indentation. You don't want any rutting during the slab placement. So your base is critical. You've got to have a good solid base that is tremble that you can control your concrete yields.
After that, you're seeing a lot today of vapor retarders being used under the slab. You know, for years and years, about the only time you ever saw that was for a slab that was going to get some type of floor covering. But now with the issues they've had with the vapor mitigation, you're seeing more of it in the warehouse and industrial area.
So the big thing on vapor retarders, vapor barriers, what you want to call them, is that you have proper lab, that you tape in your joints, that you're taping it around your penetrations, such as clean outs and such, so that you do have a good base, mean, good material and vapor barrier that doesn't have holes in it or gaps.
Moving to formwork. Beveled forms is the go-to. Your edge form should be beveled. That gives you a point instead of a flat to finish to. It's much easier to keep accurate on your formwork. For warehousing and industrial, you should be striving for about an eighth of an inch.
Chad White (05:00.245)
up and down on your forms. Check, check, and recheck formwork as you go. And it needs to be braced up solidly to where it's not going to move, and that's straight. You've got to pay attention at your joints, where you joint two forms together, that you don't have one higher than the other. So that's important. I suggest that you
Shoot your forms in, and then while you're making your slab placement, that you are continually checking your edge forms right prior to placing the concrete against it, and then after the concrete is placed. Most everybody uses lasers, but everybody needs to understand there's a tolerance in a laser band. About the best ones out there, you're still going to be within an eight. So practically, that means you're within a quarter.
The best practices that I have seen for setting form works for high tolerance floors is to use an optical level. That way you know exactly how much up and down you need to go. So we've talked about form work, we've talked about base, we've talked about vapor retarders. Next thing is your dialing system. What you're seeing most today is plate dials.
which are great. They need to be properly aligned. About all of them come with the plastic insert that you nail onto the form. There's usually a guide right there to where you're getting them at the midpoint of the slab. Use it. That's why you have it. So you've got your dialing, you've got your formwork. We're all set to pour concrete now.
best practices is you.
Seth (07:00.894)
Those, the Dows is that I'm sorry to interrupt you. The Dows does that like they, call the diamond Dows, right?
Chad White (07:05.186)
when
Chad White (07:10.327)
Yeah, diamond dowels is based, that is a load plate dowel, what we call, what the market calls a load plate dowel. It's giving you a lot more steel across the joint. Because the whole idea of the doweling system is you're wanting load transfer across that joint to where as a load, such as a forklift or whatever carrying a pallet, as it goes across the joint,
that steel in there is helping support that joint so you're not up and down. And that becomes critical because as probably everyone that's listening to this podcast knows, concrete slabs curl. You're going to have curl in all of them, which means it curls at the joints. that will create, it loses contact with the base underneath.
And if you have severe curl, you have the potential to have your slab rocking at the joints. If you're ever in a warehouse and they're running forklifts along, you hear that click, click, click, click as they're going across the joints. And what that is is slab movement. So if you don't have a joint in there, if you don't have steel across that joint or some type of reinforcing, there's nothing to transfer that weight from one side of the joint to the other.
So that's why doweling is very important. there's a lot of different, know, load plates are predominant. Round dowels are used. Square dowels have been used. You know, there's a lot of different doweling systems out there. My opinion, the load plate dowels are the best that are going right now. So we've got it all formed up. We've got the dowels in reinforcing.
You'll see anything from wire mesh to rebar, steel fibers, plastic fibers. They all have different functions and how the slab is intended to be used will dictate what has been specified. But the one thing that's important with your mesh and reinforcing is that it's in the proper position.
Chad White (09:39.095)
that in the details, typically they'll like to see that reinforcing in the top third of the slab for crack mitigation. Because most reinforcing, it's not going to keep it from cracking. What it's designed to do is hold it together and keep the cracks tight after it does crack.
So alignment of your reinforcing and positioning of the reinforcing is very critical. Now you're placing concrete. You got to have a mix design that's cohesive, that has enough water in it to where the finisher can finish it. You can place it at a slump.
Typically, what I'm seeing out there is 4 to 6 inch slump for placing. I think if you get any higher than a 6 inch slump, it's difficult to maintain your flatness and levelness during your strike off. So I always say max slump 6 inches. So you're looking at a mix that you can place at a 6 inch slump.
that you can strike off that's going to set uniformly.
And the way you get it to set uniformly is you've got to produce consistent concrete. Watch your truck to truck slumps. You don't want a four inch slump, a six inch slump, three inch slump, seven inch slump, because your slab is going to set the way it's placed. If you are placing variable slumps, it's going to
Chad White (11:30.115)
Finish that same way. So the whole key is you want to stay as uniform as possible. Slump control. lot of guys, I tell guys, I can guarantee that I can add 10 % to your bottom line if you do two simple things. Number one, get started on time. Number two, manage your slumps. Those two things, it sounds simple as hell.
But we all have a lot of difficulty with it. So when I say that we're going to pour concrete at 8 AM, that doesn't mean truck pulling on the job, guys pulling their boots on. That means at 8 AM, concrete is running down the chute and we're placing concrete. So many jobs I go to, 8 AM start is actually an 8.15 or an 8.20.
And nobody really thinks nothing about it, but you got a 15 or 20 man crew there, and you just lost a quarter hour. Do the math. And do that every day. Get started on time. That's a best practice. Manage your slump. That's a best practice. Strike off. There's a lot of different ways to strike off concrete. You have wet screening by hand.
or with a handheld vibratory screed. You have roller screeds, which aren't used very much. You have truss type screeds, which used to be used, that was the default prior to the laser screeds, how we produced industrial and warehouse floors. But now the biggest one you see are laser screeds. There's two types of laser screeds. You have your boom type screeds.
which the boom extends out, goes down, and then is pulled back. The other type of screed is a drive-in screed, to where you drive the screed into the concrete, you lower the head, and then you back out, leveling the concrete as you go. Both have their uses. Both can produce quality floors. But the big thing is,
Chad White (13:51.577)
Placing the concrete to where you don't have too much height, where you're not asking the machine or whatever the strike off method to be trying to pull too much concrete back at a time. I suggest ideally, if you could every time that you pulled concrete back, whether you're wet screening or using a laser screen, you never see over two inches in front of the screen, you'll get a lot flatter floor.
The second thing is, is getting the strike off dialed in. That means checking the elevation of the head. That means checking your wet screeds. Check, check, and recheck. You can't do it enough. FF and FL numbers. FL is always pretty much going to always be tied to your form work.
and your strike off. FFs are...
Chad White (15:03.854)
more of an issue with your finishing, your panning, and your concrete setting. Because how uniform it sets is how uniform it'll finish.
Chad White (15:18.465)
You still with me there?
Seth (15:22.386)
Yeah, yeah, I'm sorry, I'm writing notes down.
Chad White (15:23.499)
Yeah. That's all right. Well, I just saw something we might be losing connection there. OK, so we got strike off. After you strike the concrete off, typically what's done is a channel float or a check rod is ran after the strike off. And the reason for that is to consolidate the surface of the concrete, push the coarse aggregate down.
and bring more of the butter to the top so that you have a smooth sealed surface.
So we've got this far. We've got the concrete struck off. We've got it bull floated or check rotted. Now it's a waiting game. You are.
Chad White (16:20.525)
waiting for the concrete where you can do your initial panning or floating of the surface.
And there's a lot of different ways to test. Obviously, the first thing you want to make certain at all the bleed water has evaporated from the surface. You don't want to work the excess bleed water into the slab because that will alter the water cement ratio at the surface. And most people use the simple you walk out on the slab and the footprint test. And ideally, know, conditions are going to change. Mixes are different.
But about a quarter inch depression when you step onto the slab, if you're sinking in, obviously it's too wet. And you never want to break. When you start panning the slab or floating it as you're running the machines, the ridge line that the machine is given, you never want to see anything over a quarter inch. If you're getting more than that, you're too wet. You need to wait a little bit. Slabs will typically be panned in.
Multiple directions. Ideally, you'd always want to go opposite direction of what have how it's been struck off with your first pass. And then you'll cross that up. Running angles or 45s always adds value to it. You we like to see a slab pan down tight to where you've panned it to where you really can't pan it much more.
before you put the first trowel on it. Typically with a riding trowel or a walk behind trowel, combination blades will be the first ones used. It's a trowel blade, but it's wider. So you're having less pressure on the surface. You can get on a little wetter. And the whole key to your first trowing is you want to close up the surface. You want to fill all the holes.
Chad White (18:23.745)
and leave it so that your further troweling after that will produce a nice, uniform, dense surface without any holes or cosmetic blemishes. Then the last troweling, you can trowel with combo blades. I see that a lot, as long as you keep it clean. Carbon steel trowel blades is used a lot.
And what I like are plastic trowel blades used for the final pass. The reason I like them is they're much more forgiving for the operator. They do not scratch the floor as much as a steel trowel blade will. And they do not mark off. Carbon steel blades, when you burn a floor, you hear people talk about, I'd burn it black.
Well, when they burn it black, what they've done is that's the mark off from the steel, which is fine. But it's hard to keep that uniform. Plastic blades are great because when you have differential set and the slab's not setting the same, you can slide from the hard spots to the wet spots with plastic blades much easier than you can with steel trail blades.
Chad White (19:51.043)
So you've got the slab finished.
Next thing is your saw cutting of control joints. That's usually always in the specifications and it'll say, you know, saw it as soon as possible without raveling or spalling the joint. And that's a time issue. It's a timing issue. To give you an idea of what I see every day and what I see that works is what I look at is
the initial set of the concrete to when you're going to be putting your pan floats on, ideally two to four hours after the concrete's placed.
A well-designed mix, depending on the environmental conditions, should finish within six to 10 hours after it's placed. Saw cutting, and saw cutting, it's what's great about our business, what's great and what's bad. Local aggregates, cement, different, all over the country, weather's different.
Pouring on March 1 in Portland, Maine and Sarasota, Florida, you're going to have much different timing as to when it's going to set and finish. But ideally, you can tailor your mix to where you're setting within these parameters.
Chad White (21:33.731)
Then I guess the last thing to talk about as far as getting through the whole thing is curing. And curing is unbelievably important. There's right now most of the majority of the slabs that are cured out there, they're using a spray on membrane cure at this time. Water curing, we used to see it a lot in the industrial work. You still do see it in some of the polish work. It's a great.
great way to cure. But it's usually a five to seven day curing period, which limits access to the slabs by other trades. So you're not seeing as much of it. But a spray on cure, you want to get your cure on as quick as possible. Other best practices to think about while you're pouring concrete is when it comes to slabs. Evaporation retarders.
They're great. You need to watch your evaporation rates daily. What we have found with type 1-2 cement, typically if your evaporation rate is over 0.10, you need to start using some type of evaporation retarder. With the type 1-L cements, since you've that
that limestone they're adding to it is much finer. So it's choking off the avenues for the bleed water to get up. So you're not seeing as much bleed water. And you're seeing it over a little more extended duration. So we're finding that 0.08 when you're, and that is pounds per square foot per hour of how much evaporation, how much water.
the top of the slab is using. So on type 1Ls, we're looking at around 0.08 is when you need to start thinking about how are we going to mitigate our moisture loss at the top of the slab. Evaporation retarders are great, but you've got to use them the way they're designed to be used. They're designed to be sprayed on after strike off and consolidation.
Chad White (23:58.925)
They create a monomolecular film on the surface of the concrete, which slows down the evaporation of concrete out of the water. But if you spray it on and work it in with your bull float, as I see it done about half the time, all you're doing is adding water to the surface. You're not creating a film. You've broken. So you really need to look at the manufacturer's instructions and use the product correctly.
They are some finishing aids out there that are designed to be worked into the slab. Depends on who you talk to. Some of them think they're great. Some of them think it's maybe smoke and mirrors. I don't know. I don't know enough about it to really say whether they work or not. So we've gotten all the way through the slab from base to curing.
Slab protection, talk with your general contractor. Because once you walk away from it, that slab is going to be used as a work platform by all the other trades. And it gets beat to dickens. So as a concrete contractor, you should always be proactive. You've put all this work into.
Seth (25:17.482)
Yeah.
Chad White (25:28.023)
getting this great looking slab, make certain that the other trades aren't beaten to death. Voice your opinions. Let the general contractor know that this slab needs to be taken care of. So in a nutshell, that's kind of the best practices we talk about. I mean, we could go into more depth on boarding edges and all that.
Is there any questions you have, Seth, or anything that you'd like a little more comment on?
Seth (26:03.773)
Yeah, no, was holding back. Thank you for going through all that. I wanted to ask you if there's some things that you see in your slab after it's finished or while you're finishing, what could be a possible cause of those things? What about blisters? When you see blisters in the slab, do you know what I'm talking about? Yes, sir.
Chad White (26:22.711)
Blisters and delamination. Yeah, blisters and delamination. Typically, when I see that, that's over troweling of the concrete surface, or there's air content that's too high in the concrete. Most slabs, anything that's going to be trowel finished should not be air entrained. But then you get into lightweight concrete that they use in a lot of office buildings and high rises.
They've got to have the air in there to get their unit weights down low enough. But then they ask for a trowel finish on it. And then they have delamination and blistering issues. And they want to know why. Well, it's simple. You've got air. For anything that's going to troweled, you should not have an air content in your mix above 3%. You're flirting with having problems.
How do you get around it? Or how do you mitigate blistering? Come back on the amount of troweling you're doing on the slab. More time between troweling stages and less overall troweling. Where I see blistering a lot is you'll see it like.
what we call a min line, where you have a piece of the concrete that is set and is much harder than what's around it. So you have that, I hate calling them cold joints because everyone gets scared to death. So we call them min lines. And so you've got guys that are trying to work that in. So they're constantly machining that edge around that differential set.
Seth (28:01.706)
Mm-hmm.
Chad White (28:20.663)
And you'll see some blistering going on right there, potential for delamination. Throw in water, using water as a finishing aid or using evaporation retarder as a finishing aid will impact the surface. You'll also see if you over trowel, all slabs will craze. You'll have some crazing.
But if you get like on a windy day and hot temperatures, the surface loses water too quick. And you'll get surface crazing. And it's premature setting at the surface. It's setting faster than the rest of it.
So.
Seth (29:10.482)
Gotcha. What about, what about, rock shadowing?
Chad White (29:16.673)
Rock shadowing, that's kind of a pet peeve with us. We don't like to see a lot of coarse aggregate at the top. And where that comes from, predominantly it's driven by your mix design, how much coarse aggregate you have in the mix, how much intermediates. You can tweak that mix a little bit to get that down.
to where you don't have as much coarse aggregate at the top. And then the other things that help with it is proper vibration in your strike off. And then when you are consolidating the surface after strike off using a channel float, bull float, check rod that you're bringing enough fines to the top. And.
Like what you'll do on a polished job or something where you can't have any aggregate at the top is we'll use a roller tamp and a jitterbug. You'll run the roller tamp after the strike off and it's basically a wire roller that presses the coarse aggregate down and pulls paste to the top so that you ensure that that top
16th inch of a slab to eighth inch is nothing but paste.
And that's something, aggregate shadowing in some market areas, I see it on every slab. And they have to use a roller tamp or they have to consolidate the slab surface to get rid of it. I go into other market areas. I was in Houston that last week, walked a slab that all they did was laser screen and did nothing after the laser screen, no check rod.
Chad White (31:15.479)
no bull float, and they bump cut the floor. And there is no aggregate shadowing at the top, and there's no coarse aggregate at the top. a lot of it's going to, mixed design is going to drive it more than anything.
Seth (31:33.098)
Can you, can you explain bump, bump cutting to the audience?
Chad White (31:37.251)
Sure, sure. Bump cutting is a process of cutting and filling the slab surface with a straight edge after or during the panning, floating, finishing process. you will like, let's talk about a super flat. Typically you'll strike that off a couple of times.
And then after you pan it the first time or before you pan it, a bump cutter is typically a 10, 12 foot straight edge that's got a hustler head handle and a connection knuckle on it. You push that out and then you'll scrape the concrete surface back, back to you. And then you'll, where there's high spots, it's cutting the high spots off.
where there's low spots, the paste that you've pulled back, you'll throw that back. And there is also sled type bump cutters that attach to ride on trial machines that you can pull around behind a float machine which cuts and fills the slab surface. Bump cutting, it works. You will get a flatter floor, but you do have the potential.
for aggregate shadowing and coarse aggregate at the top. So you just have to mitigate that by tweaking your mix design. You may have to run a roller tamp immediately after strike off in order to get the amount of coarse aggregate down at the surface. There's a lot of ways you can work with it. Bump cutting is typically done for high tolerance slabs.
Most slabs out there today, if you're pouring it with a laser screen and you're panning it with an 8 or 10 or 12 foot machine, my expectation is if everything is running correctly, you should be hitting FFs of 60, FLs of 40, day in, day out without any bump cutting.
Seth (33:58.439)
Mm-hmm.
Chad White (33:59.319)
you know, if everything's running right. We're seeing a lot in the industry. You're seeing a lot of the robotics being introduced on slab floors and automated racking and storage, which they all require much more stringent flatness and levelness. And that's where you'll see the majority of your bump cutting going on.
Seth (34:26.418)
Okay. I wonder if you see scratches on the floor afterwards.
Chad White (34:36.785)
Scratching, every slab I've ever walked, you're going to see a little bit of it. Something gets caught on a trowel blade. Obviously, it's something that you have to monitor. The biggest places where you'll get scratching is where you have differences in set time, differential set. Like I said before, hard and soft, trying to tie those two together.
You're on the wet side of it with your trowel machine. You ease over into the hard. Some of that sand or slurry gets kicked out on the harder stuff. The steel blade goes over it and scratches the concrete surface. So if you pour uniform slumps, uniform conditions to where everything's finished in the same, you'll mitigate a lot of your scratching. Plastic blades, again, as I say on your last pass, plastic blades.
Do not scratch as much. Now the one downside to plastic blades is you are not getting as dense of a surface with a plastic blade as you are with a steel trowel blade. So we always suggest that you only use those plastic blades for your last pass. Get your density with your combo blades and your steel trowel blades. And then when it's time to get that final gloss on it,
Put your plastic blades on and finish it out.
Chad White (36:11.734)
scratching, delamination, plastic shrinkage cracking, crazing. Those are typical things that have to do with the surface drying out too fast or possibly over machining. When I say over machining, that means really it's a timing issue more than anything else. As a slab setting, you've got to be machining it. But if your slab starts to slow down and you've just machined it,
and then you run a trial over it again and it hasn't set anymore, that's where you run into the potential of having excessive crazing or blistering or some delamination.
Seth (36:54.65)
All right. Well, good. I think we covered everything today. Is there anything else you think we should mention before we close it out?
Chad White (37:03.263)
No, the devil's in the details. The devil's in the details. Concrete is a perishable commodity that's placed with daily conditions that are different every day. So you got to be on your toes. You know, you've got to be proactive. Plan your work, work your plan, but understand sometimes the plan goes to hell.
Seth (37:30.6)
you
Chad White (37:31.609)
You know, as long as you're thinking quality, you'll probably be tracking right.
Seth (37:40.018)
Yeah. All right. Well, good deal. Chad, if folks want to reach out to you and learn more about what you're doing or, or, see what SSI is up to and how they could help, what's the best way to reach out to you.
Chad White (37:55.033)
You know, you can always go visit our website, all of our contact information. That's SSI, Structural Services Incorporated. You can reach me at cwhite at SSI team dot com. We'd love to hear from you. Got any questions, concerns? We're there to talk.
Seth (38:22.986)
All right. I appreciate it, Chad. Thanks for coming on the show. And folks, until next time, let's keep it concrete.

Senior Concrete Consultant
Chad is a Senior Concrete Consultant with SSI and has been involved in all aspects of concrete construction for over forty years. Chad started as a cement mason apprentice and worked his way up through the ranks cumulating in founding and running a successful concrete construction company for over 15 years. Along the way Chad has been fortunate to work with many of the key players that have shaped the concrete industry. Chad has been personally involved with the design and construction of many different types of industrial slabs including shake-on hardeners, defined traffic super-flats, high tolerance random traffic super-flats along with suspended slabs and pavement.
Chad is a member of American Concrete Institute, (ACI) and has published numerous articles regarding concrete slab installation. Chad has been a speaker at World of Concrete for over 5 years.


